Screenshot Studio Features
Screen Capture modes:
- Capturing whole screen: Captures whole screen and displays it in editor.
- Capturing an active window: Capturing your foreground window.
- Silent capturing: screen is captured, but editor isn’t displayed. This mode is useful when you don’t want to lose a focus, for example in games.
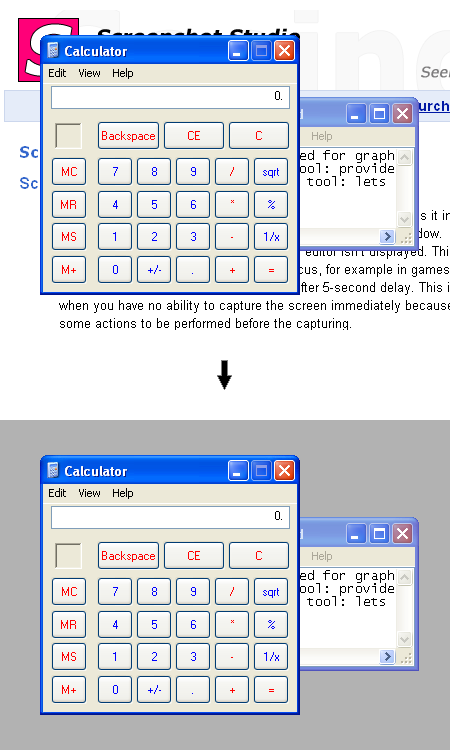
- Delayed capturing: screen is captured after 5-second delay. This is useful when you have no ability to capture the screen immediately because of some actions to be performed before the capturing.
What can be captured:
Screens in GDI, DirectX, OpenGL and other modes. If you tried to use the print screen key or another screen capture tool to capture from a video player and all you got was a black rectangle, you should use this screen capture operation. |
|
Selection tools:
Create a region or rectangle that can be used for graphical effects application.
- Area selection tool: provides rectangular selection creation for further graphical processing.
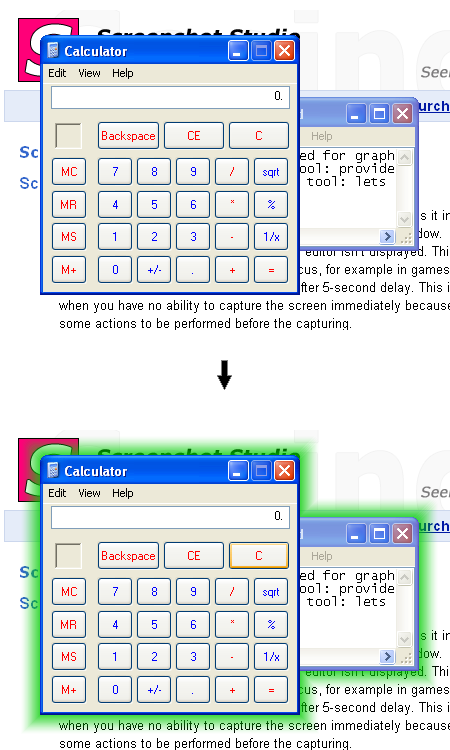
- Window selection tool: lets you creating complex regions consisting of one or more windows and their controls. Using this tool you can quickly delete or highlight desired windows.
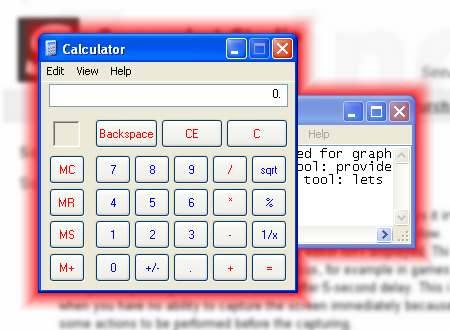
Graphical tools which work with selections:
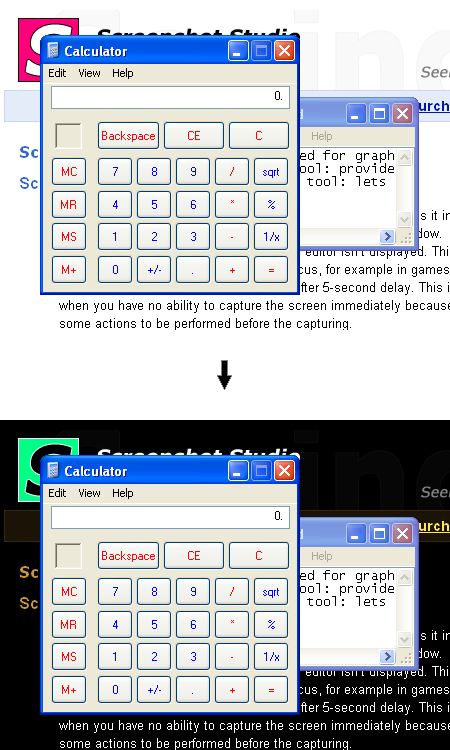
A combination of these effects can be applied to the image for getting more illustrative results. Following screenshot shows Gaussian blur, Grayscale and Glowing edges effects sequentally applied to picture.
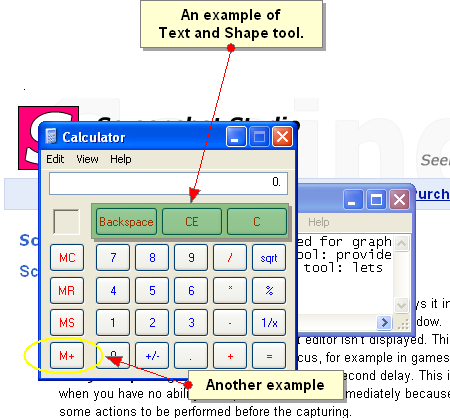
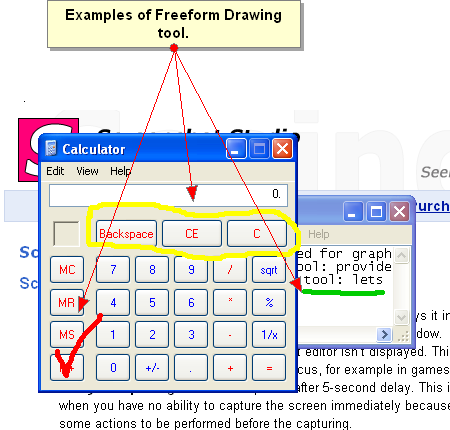
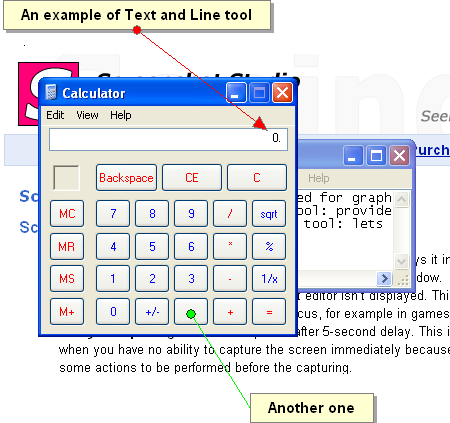
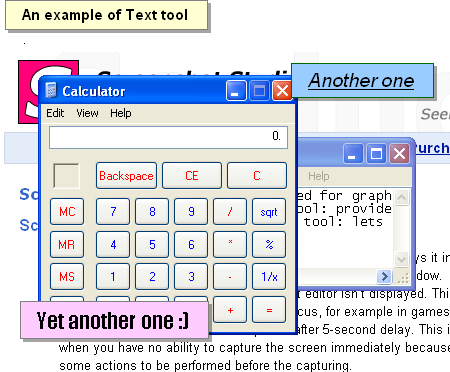
Vector instruments:
Vector instruments have been developed to help user quickly and effectively annotate captured screens. They’re placed in a separate layer and can be modified/removed at any time.
How can screenshots be stored:
- PDF (Portable Document Format)
- PNG (Portable Network Graphics) format: provides lossless way to store graphical data. In addition, PNG structure allows saving additional user-defined information. This feature is used for storing vector objects and other editor info inside PNG. Thus you can load this file back into Screenshot Studio and continue editing. Screenshot Studio allows you to associate PNG-extension with Screenshot Studio as default viewer/editor. The program automatically remembers your previous default viewer and can detect whether PNG was created by Screenshot Studio or another application. Previous default viewer will be executed in case of non-Screenshot Studio file. In case of when the image is Screenshot Studio-native file, it will be opened in this application.
- JPEG (Joint Picture Expert Group) format creates mostly less file size, but worse picture quality than PNG does.
- BMP (Bitmap Picture) format creates good quality picture, but its size is bigger than PNG and JPEG practically.
- Project File: if you have to close Screenshot Studio and you’ve got some screen captures that you want to edit later, you can save them in project file. Next time you start Screenshot Studio you simply load this file and continue editing.
- HTML page: one or more screen captures can be embedded in HTML. This provides you creating extended descriptions by adding respective JavaScript code and other text info about your screenshots. HTML page is created in MHT format and everything is stored in one file that you can publish to web or distribute in other ways. You have an ability to create both personal web page for each screen shot and a single page containing all screen captures.
- ZIP file: all program output described earlier can be put to ZIP. This can dramatically reduce output file size.
Where screenshots can be created by Screenshot Studio:
- Screen Captures can be saved to disk.
- Screen Captures can be copied to clipboard.
- Screen Captures can be sent by e-mail.
- Screen Captures can be opened in another editor.
- Screen Captures can be uploaded to specially developed web site for FREE and get distributed over WWW community.
|